
1. Install MetaMask wallet
1.1 Install wallet
MetaMask is one of the most popular Ethereum wallets, it is used
as a plugin in the web browser. It can be installed in multiple
browsers including Google Chrome, Mozilla Firefox, Microsoft
Edge, Opera, and Brave, and can also be installed on
Smartphones with both Android and IOS operating systems. There
is a video that introduces what is the MetaMask.
In this guideline, we are going to walk through the steps to install
MetaMask on the Google Chrome browser. We assume that you
did not install MetaMask before, but if you have installed
MetaMask, please follow the instructions from section 2 ‘Mint
Season’s greetings card NFTs’.

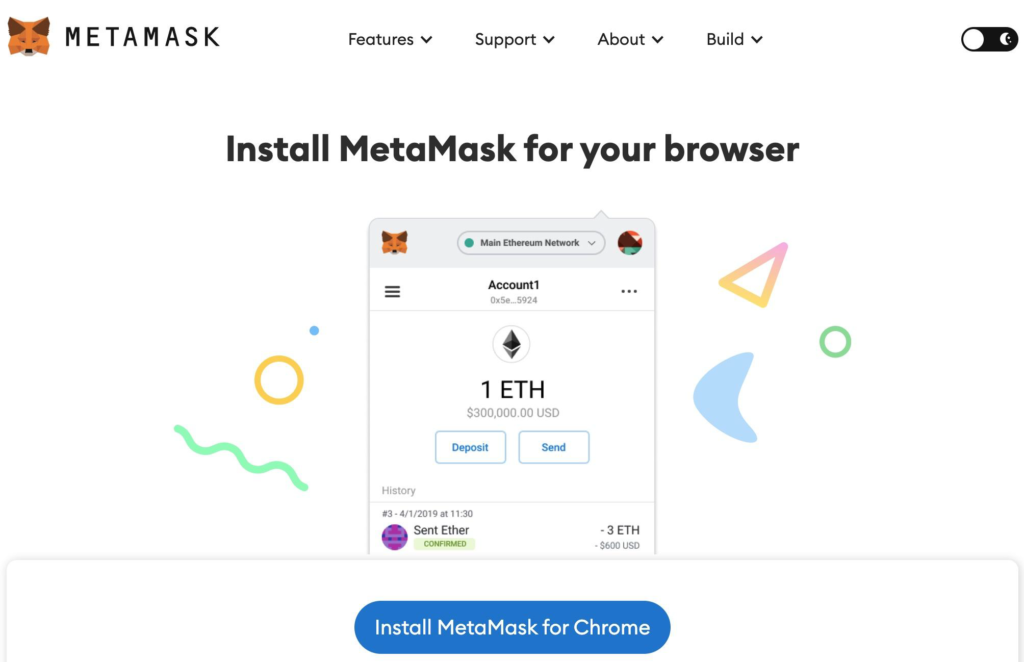
Step 1: Go to https://MetaMask.io/download/
Step 2: Find and click the button ‘Install MetaMask for Chrome’,
you will be directed to the Chrome Web Store.
Step 3: Click ‘Add Extension’, then MetaMask will be installed as a
plugin in your Google Chrome.
Step 4: Click ‘Get Started’ and then you can either choose ‘No
thanks’ or ‘I agree’ to let MataMaskgather some user data.

1.2 Create an account
Step 1: Click ‘Crete a Wallet’, and you will be prompted to create a new password.
Step 2: Input your password, and accept the Terms of use, click ‘Create’.


Step 3: Watch the video about the secret recovery phrase and how
to keep your wallet safe, then click the ‘Next’ button.
Step 4: Click the shadow part to reveal secret words. There you will see a 12-word seed phrase.
This is very important and usually not a good idea to store digitally, so take your time and write it down. Click the ‘Next’ button after you write down the mnemonic words.
Step 5: Verify your secret phrase by selecting the previously generated phrase in order, finally click ‘Confirm’. Congrats, now you have installed your MetaMask wallet successfully, and you can find it in the upper right corner of the browser. There is an address created automatically for you in the MetaMask after installing it, you can click the box to copy your address.


The steps presented above for setting up a Metamask account are explained in this walkthrough video as well
2. Mint Season’s greetings card NFTs
2.1 Visit the UZH-XMAX-NFT website
Visit the UZH-XMAX-NFT website, your MetaMask wallet will try to connect to this website. A pop-up window will appear, please select an address that you want to use in this project if you have multiple addresses, you can also create a new address by clicking ‘New account’ and choosing it later. Click ‘Next’ to go to the next page, then click the ‘Connect’ button, your MetaMask wallet will connect to our network named UZHETHPoS.


- Note: Your MetaMask wallet uses the same private key and Ethereum addresses on all the networks it connects to. However, your Ethereum address’s balance on each Ethereum network will be different. For example, you have 2 UZETHs in the UZHETHPoS network, but you still do not have real ethers on the mainnet.
Next, you need to approve the network information and add it to MetaMask by clicking the ‘Approve’ button.


By default, the MetaMask wallet will connect to the Ethereum Mainnet when you install it. Now we will switch the network from the mainnet to our UZHETHPoS network by clicking the ‘Switch network’ button. Still, you can switch to the mainnet or testnets, but please switch back to the UZHETHPoS network when you want to view your Season’s greetings card NFTs or send them to others.

2.2 Receiving some UZETHs and an access token

UZETHs is the symbol of cryptocurrency of our UZHETHPoS network, you can transfer UZETHs to other addresses or use it to pay the transaction fee on this blockchain. We need to get some UZETHs at the first, just wait for a moment after switching the network to UZHETHPoS, and then our smart contract in the website backend will send 2.022 UZETHs and an access token to your wallet address, you will see that the balance in your wallet has changed to 2.022.
The access token you received, is used to let the website know if you mint the NFTs or not, the access token will be burned after you mint the NFTs, and without the access token, you can not mint NFTs again.
2.3 Mint NFTs

Click the ‘Create your star’ button on the website.
You can design your own Season’s greetings card NFTs by choosing the shapes and colours of your star, or clicking ‘Random’ to generate a star.


After you think it is good enough, click the ‘Save to blockchain’ button, a pop-up window will show up and then again click ‘confirm’. This action means that you issued a transaction that is
calling our smart contract to mint 5 NFTs for you and burn your access token.
In the meantime, you will see a pending transaction in your wallet under the ‘Activity’ tab, and after a while, this transaction will be confirmed on the blockchain. Your NFTs are minted successfully when you see the date which is in green colour as shown in the
screenshot below.


3. View your NFTs
Step 1: Click the ‘Activity’ and the transaction you just issued, you
will see some details of this transaction.
Step 2: Copy the transaction id by clicking ‘Copy transaction ID’,
then click ‘View on blockchain explorer’ or directly visit our
blockchain explorer at https://uzheths.ifi.uzh.ch/, paste the
transaction ID in the search box, you will find the addresses of
your NFTs, and the link to view them in a gallery.


Click the ‘View your NFTs’ button on the website, and you will see your NFTs.
4. Import your NFTs to MetaMask
The NFTs will not be shown in your MetaMask wallet after minting them, to see them in MetaMask you need to import them manually.
Step 1: On the ‘Assets’ tab, click ‘Import tokens’ at the bottom.
Step 2: In the ‘Custom token’ tab, you need to fill in 3 information, the main thing is the address of the NFTs you created just now, you can locate it by finding the transaction information from our blockchain explorer. Insert the token contract address, and token symbol into the appropriate field, and set the decimal as zero.


Step 3: Click ‘Add Custom Token’, and you should now see the NFTs and the quantity you hold listed under your assets.
5. Transfer your NFT to others
After 2 weeks, you will receive 5 Season’s greetings card NFTs, you can send some of them to your colleagues or friends, please make sure their MetaMask wallet connects to our UZH-Ethereum network.
Step 1: Click the Season’s greetings card NFTs, then click the ‘send’ button, you will be prompted to enter the recipient’s address.
Step 2: Select the transaction fee. The transaction fee is calculated by the gas limit multiplied gas price, if you don’t know what the gas price is, please refer to the Blockchain Technology related to the season’s greetings card NFTs page. You can increase/decrease the gas price, and the lower the fee, the longer time your transaction will be confirmed.
Step 3: Verify your transaction. To verify that your transaction is completed successfully, you can either click your transaction under the ‘Activity’ tab and check its status. If the status is ‘Success’, then your NFT has been successfully transferred.
Step 4: The NFTs will not be shown in the recipient’s MetaMask, please follow section 4 Import NFTs to MetaMask to import the NFT manually.